
Installing a filter press cloth may appear to be a simple maintenance task, but the quality of the installation has a direct effect on filtration performance. A cloth that is wrinkled, incorrectly positioned, too tight, too loose, or caught between the sealing surfaces can lead to slurry leakage, cloudy filtrate, uneven filter cakes, premature cloth damage, and unnecessary downtime.
The correct installation method also depends on the type of placa de filtro prensa being used. In most industrial filter presses, filter cloth attachment can broadly be divided into non-gasketed, or drape-over, designs and CGR or gasketed designs. Non-gasketed cloths are generally easier and faster to replace, while CGR cloths are secured into a groove around the plate perimeter to provide improved sealing.
This guide explains how to install both types of filter press cloth, what to inspect before installation, how much tension the cloth should have, and how to test the filter press safely before returning it to full production.
What to Check Before Installing Filter Press Cloth
Good filter press cloth installation starts before the new cloth is placed on the filter plate. Installing new cloth over dirty, damaged, or incorrectly prepared plates can create problems even when the cloth itself is the correct specification.
Before removing or installing filter cloth, the filter press should be completely shut down. Stop the feed pump, release pressure from the filtration system, isolate electrical power where required, and make sure the hydraulic closing system is in a safe condition. Appropriate lockout/tagout procedures should be followed according to the plant’s safety requirements.
Once the machine is safe, open the plate pack and separate the plates so that both sides of each plate can be inspected.
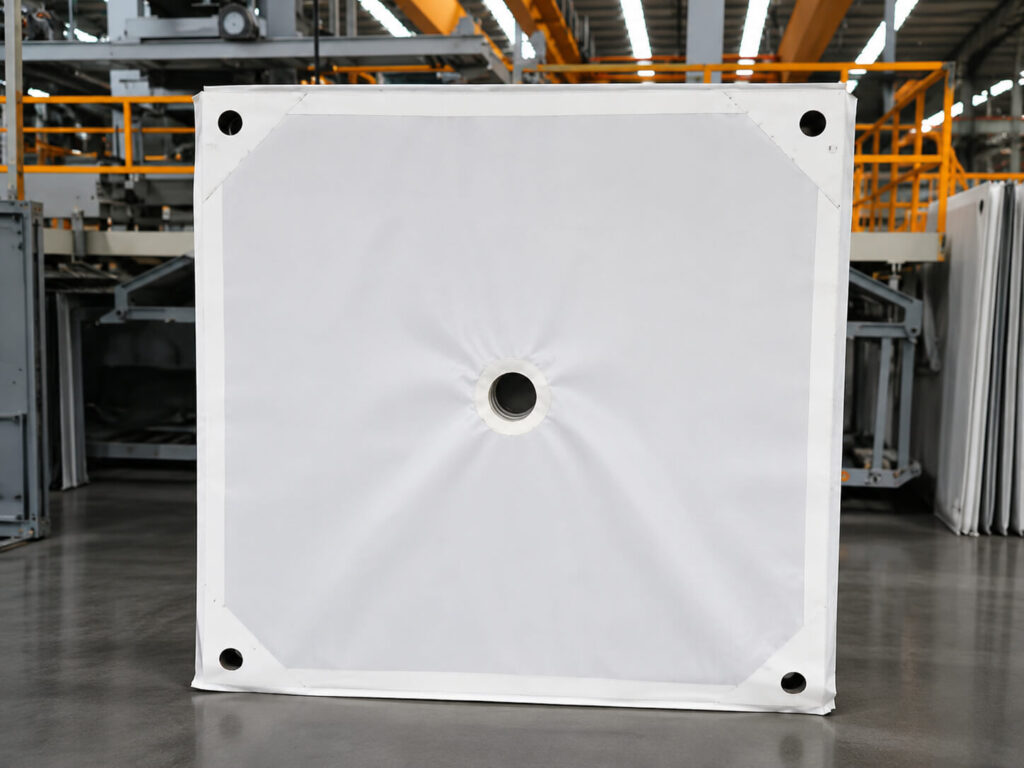
Clean the Filter Plate Surfaces
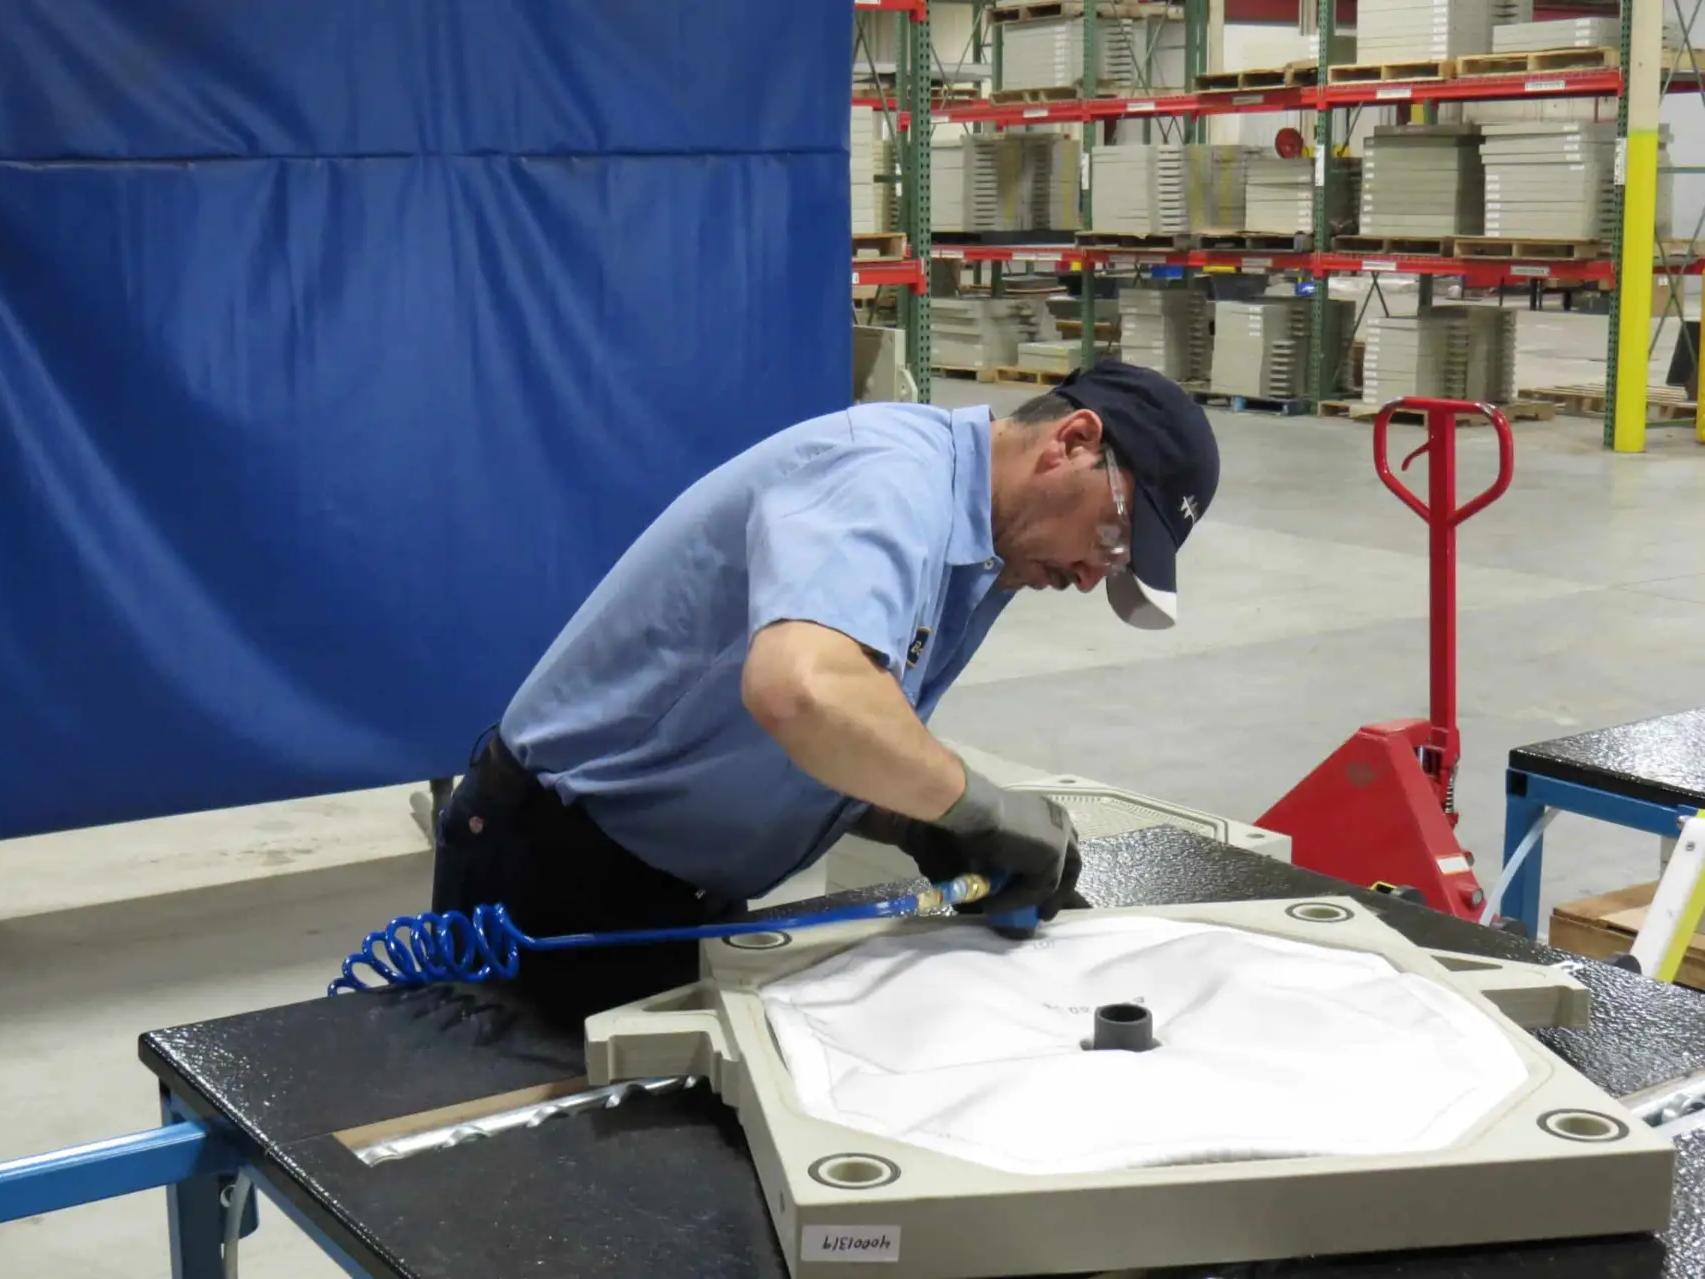
Remove all remaining filter cake, dried solids, scale, and slurry from the plate surface. Pay particular attention to the sealing area, center feed opening, corner ports, filtrate outlets, drainage channels, and any grooves used for cloth attachment.
Even a small particle trapped between the filter cloth and the sealing surface can prevent the plate pack from closing evenly. This may eventually become a leakage point when feed pressure increases.
The drainage surface should also be clean enough for filtrate to flow freely behind the cloth. Blocked drainage channels can reduce filtration efficiency and create uneven pressure across the cloth.
Inspect the Filter Plates for Damage
Check the plate for sharp edges, burrs, cracks, deformation, damaged grooves, or foreign material. Sharp projections should be corrected before a new cloth is installed because they can cut or abrade the fabric during filtration.
This inspection is particularly important on older chamber filter plates that have already completed many filtration cycles.
Verify the Replacement Filter Cloth
Before installation, compare the replacement cloth with the old cloth or the filter plate drawing. Confirm:
- Cloth dimensions
- Center or corner feed-hole position
- Filtrate opening positions
- Attachment-hole or grommet locations
- Cloth material
- Weave and permeability specification
- CGR or non-gasketed construction
The cloth should also be inspected for manufacturing defects such as holes, damaged seams, broken threads, irregular edges, or incorrect openings.
A correctly manufactured filter cloth should fit the plate naturally. It should not need to be severely stretched, folded, or modified during installation.
How to Install Non-Gasketed Filter Press Cloth
A non-gasketed filter press cloth, sometimes referred to as a drape-over or NG cloth, is commonly used where convenient maintenance and faster cloth replacement are important.
Unlike a CGR design, the perimeter of the cloth is not continuously caulked into a machined groove. Depending on the plate design, the cloth may instead be held in place using cloth dogs, grommets, ties, hook-and-loop fasteners, or similar attachment systems.
Non-gasketed cloths are commonly used with standard recessed chamber plates in wastewater treatment, sludge dewatering, mining, chemical processing, ceramics, and other general filtration applications.
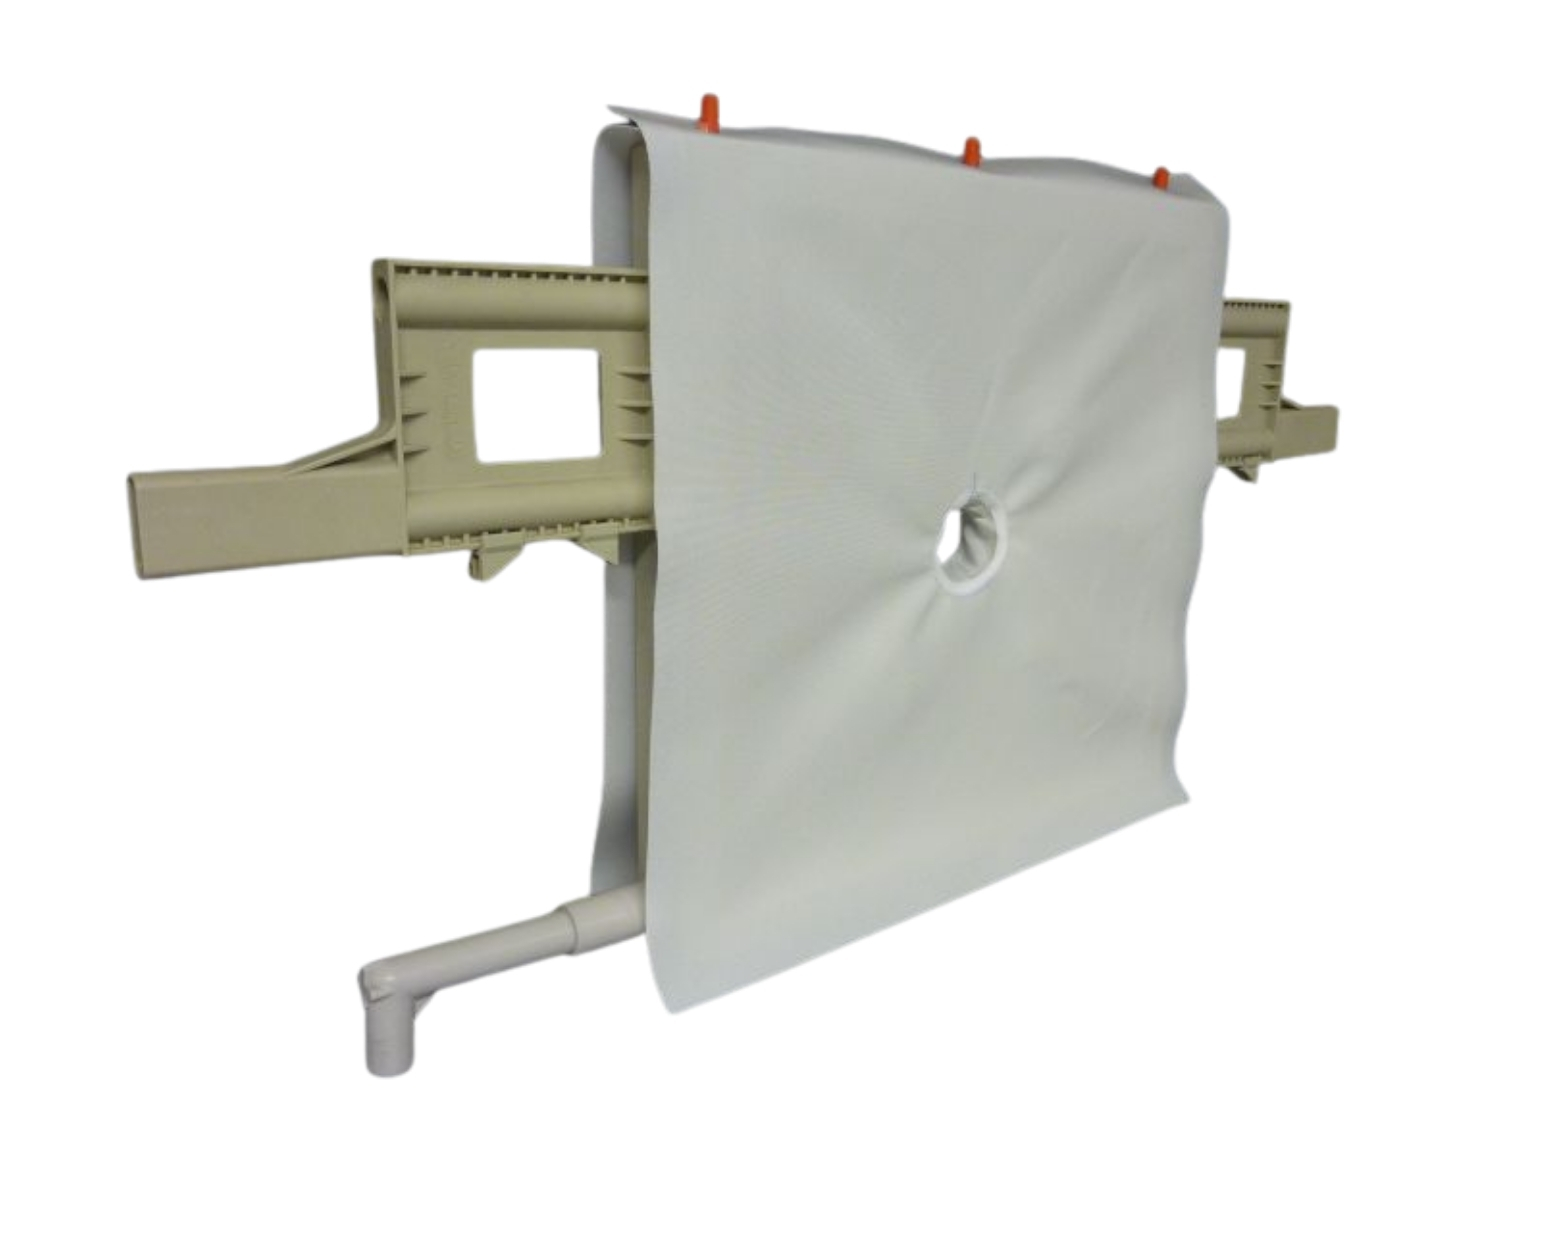
Pass the Cloth Through the Feed Opening
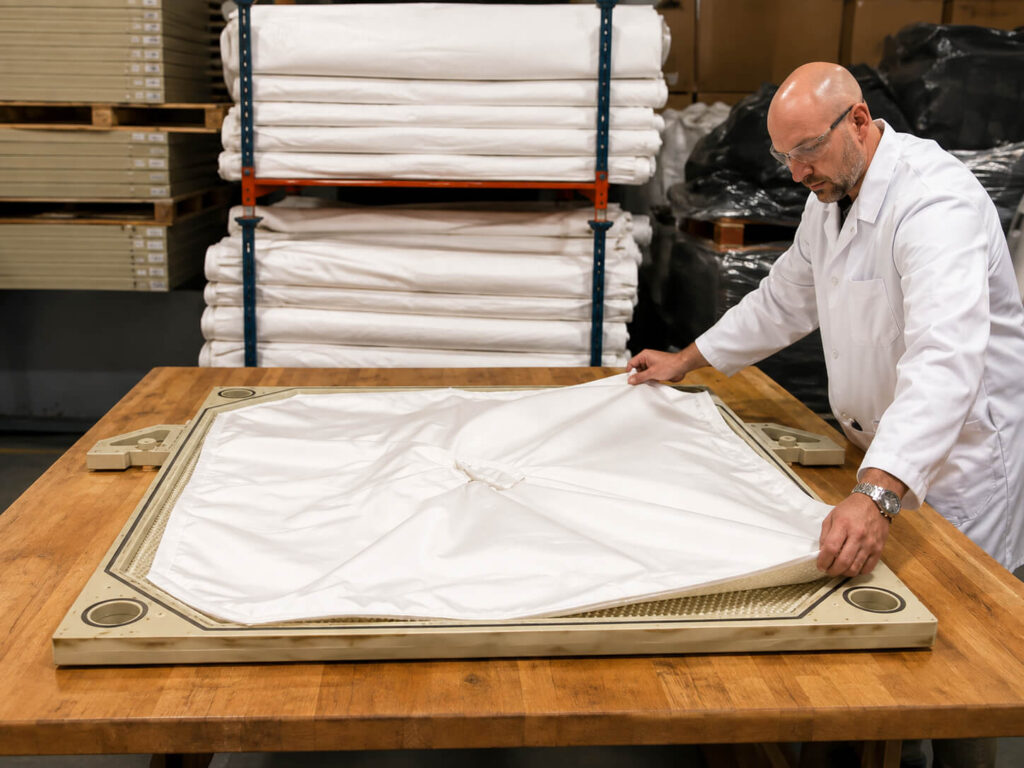
For a center-feed plate, carefully gather or roll one side of the filter cloth so that it can pass through the center feed opening.
Do not force a large folded section through the opening. Excessive force can damage the cloth, stitching, or feed-hole reinforcement.
Once the cloth has passed through the feed opening, unfold it so that one cloth panel lies against each side of the filter plate.
Position Both Sides of the Cloth
Spread both cloth panels across the filtration surfaces. Align the center feed opening and any other required holes with the corresponding openings in the filter plate.
Check that the cloth is centered vertically and horizontally. The fabric should follow the filtration area without twisting around the feed neck.
The cloth should lie naturally against the plate surface. Do not pull one side downward simply to remove every small amount of movement from the material.
Secure the Upper and Side Attachments
If the filter plate uses cloth dogs or mounting pegs, align the upper grommets with the appropriate mounting points and secure them according to the plate design.
Side attachment points may then be connected using the specified ties, clips, or fastening system.
Where zip ties are used, tighten them enough to keep the cloth correctly positioned but do not pull them so tightly that the filter cloth becomes stretched across the plate.
The objective is to keep the cloth aligned during plate movement, closing, cake formation, and cake discharge while still allowing the fabric to behave naturally during the filtration cycle.
How to Install CGR Filter Press Cloth
CGR stands for Caulked, Gasketed, Recessed. A CGR filter plate uses a perimeter groove that allows the edge of the filter cloth to be secured into the plate.
This design is particularly useful where controlling side leakage is important, such as chemical processing, electroplating, pharmaceutical production, food processing, pigment filtration, and other applications involving hazardous, valuable, odorous, or contamination-sensitive slurry.
CGR filter cloth installation normally takes more time than installing a non-gasketed cloth because the perimeter must be seated correctly around the entire plate.
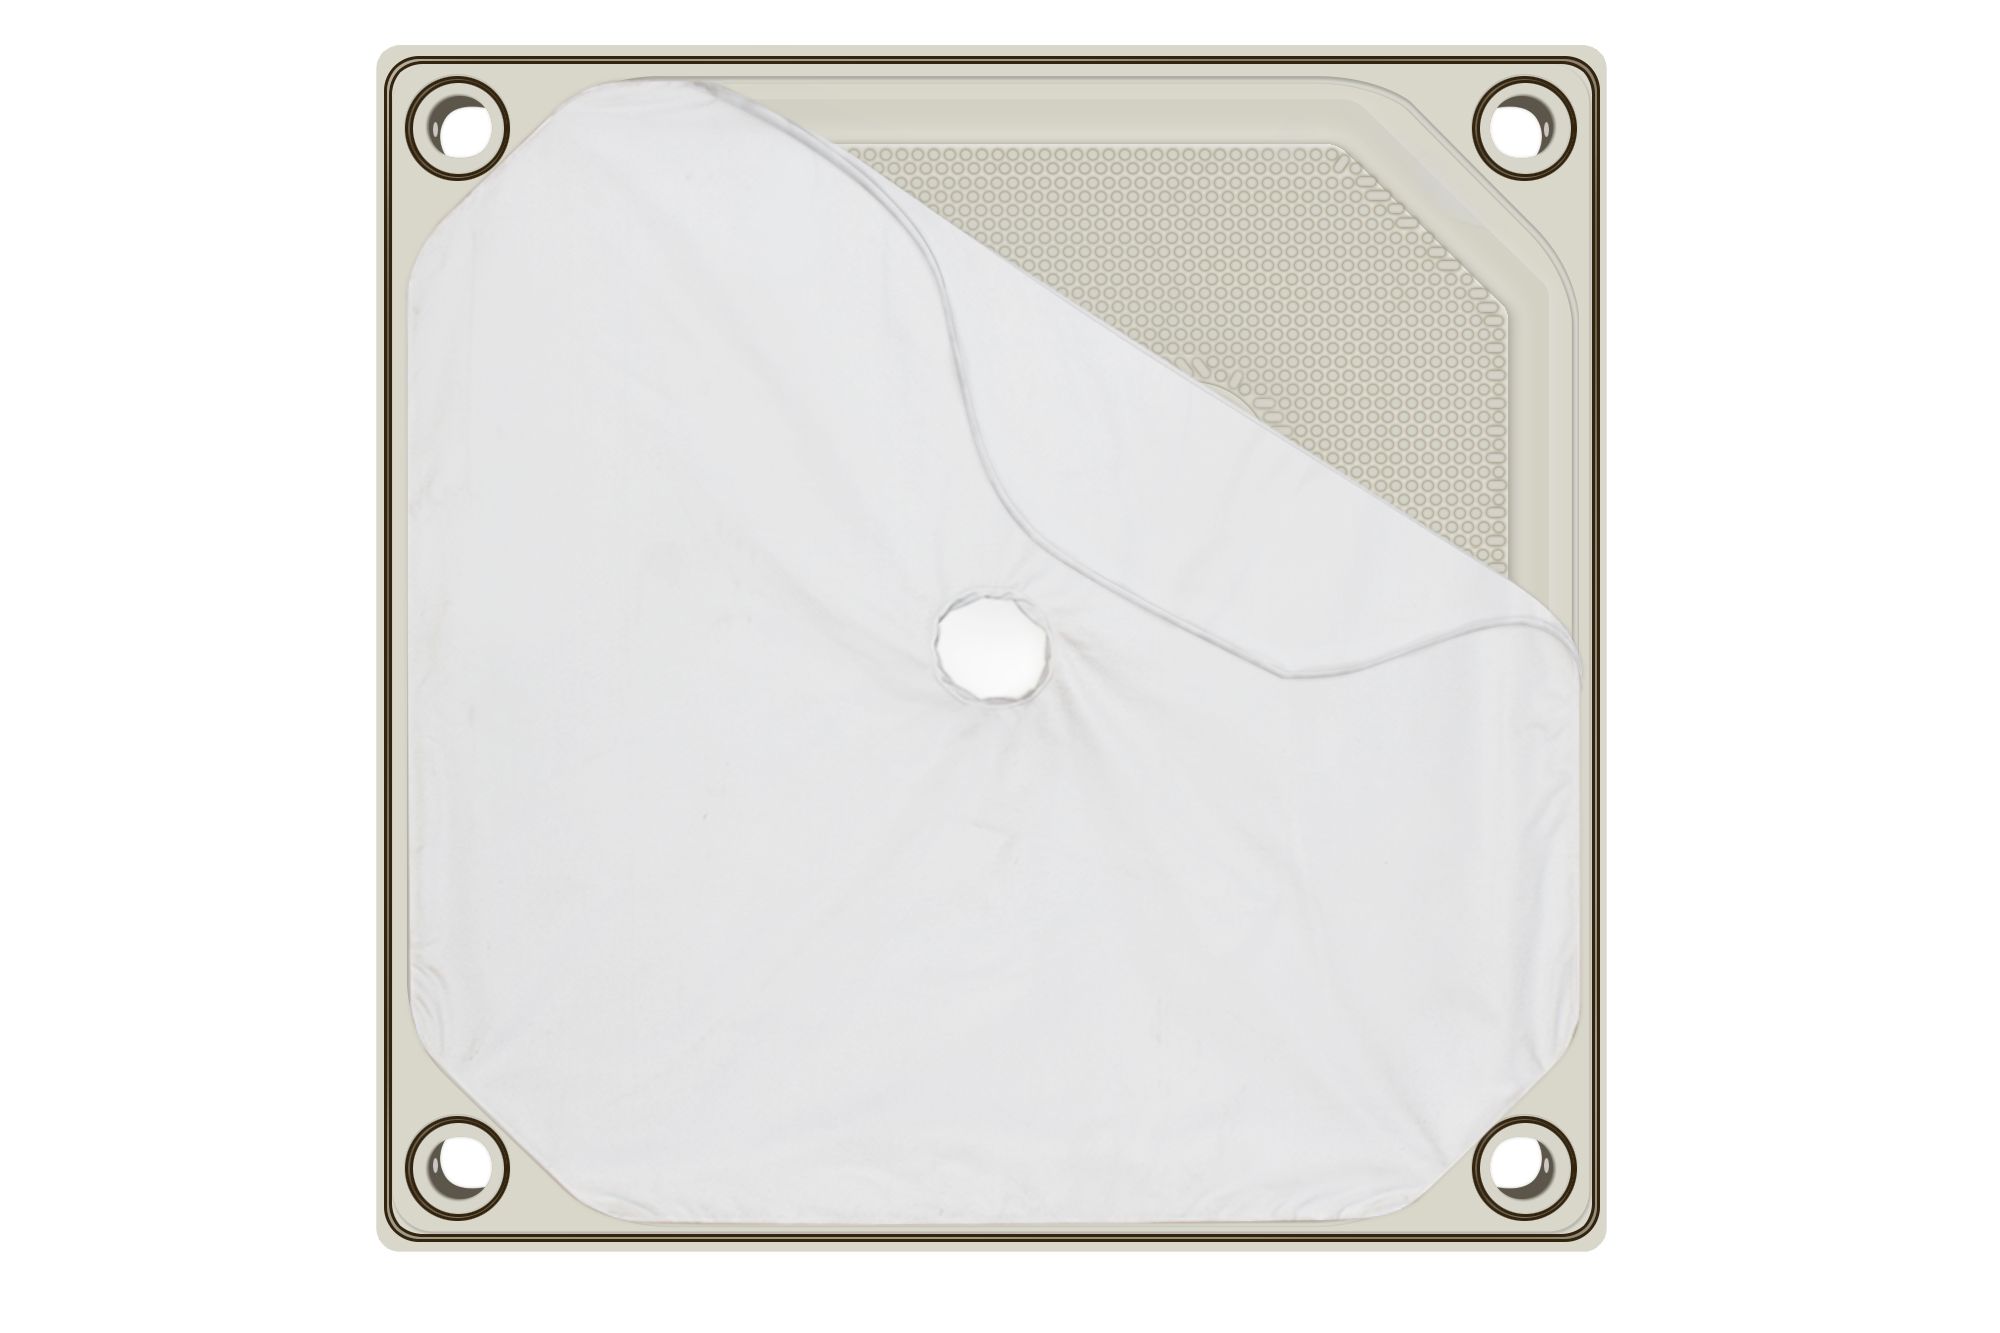
Clean the Cloth Groove Thoroughly
Before installing the new CGR cloth, inspect and clean the complete perimeter groove.
Old cloth fibers, dried solids, damaged caulking material, or particles remaining inside the groove can prevent the new cloth from seating evenly.
Do not install the cloth over contaminated sections of the groove. An incorrectly seated section may become a leakage point when the press reaches operating pressure.
Position the Cloth on the Plate
As with a non-gasketed cloth, gather one side and carefully pass it through the center feed opening when a center-feed configuration is used.
Spread the cloth across both filtration surfaces and align all openings before beginning the caulking process.
Do not begin forcing the cloth into the groove before confirming that the entire cloth is correctly oriented. Correcting an alignment problem becomes much more difficult after a large portion of the perimeter has already been installed.
Seat the Cloth Edge Into the Groove
Depending on the filter cloth design, the perimeter may contain a sewn-in cord or caulking edge designed to fit into the groove.
Start by positioning several reference points, typically around the corners and major sides of the plate. This helps maintain even cloth distribution as installation progresses.
Use the appropriate installation tool, such as a polypropylene caulking wedge together with a rubber or dead-blow mallet, to progressively press the cloth edge into the groove.
Work gradually around the perimeter rather than completely finishing one side while allowing excess cloth to accumulate on another side.
The purpose is to distribute the fabric evenly around the complete plate.
Inspect the Entire Perimeter
After the cloth has been installed, visually and manually inspect the entire groove.
Look for:
- Sections that are not fully seated
- Raised cloth edges
- Twisted fabric
- Material accumulated in one corner
- Uneven tension
- Obstructed feed or filtrate openings
Repeat the same inspection on the opposite side of the plate before moving to the next filter plate.
LONGONE manufactures PP filter plates in recessed, membrane, CGR, and other configurations, so replacement cloth should always be matched to the specific plate design rather than selected by plate dimensions alone.
How Tight Should a Filter Press Cloth Be?
One of the most common mistakes during filter press cloth replacement is assuming that tighter automatically means better.
A filter cloth should normally sit flat and remain correctly positioned, but it should not be stretched like a tensioned screen.
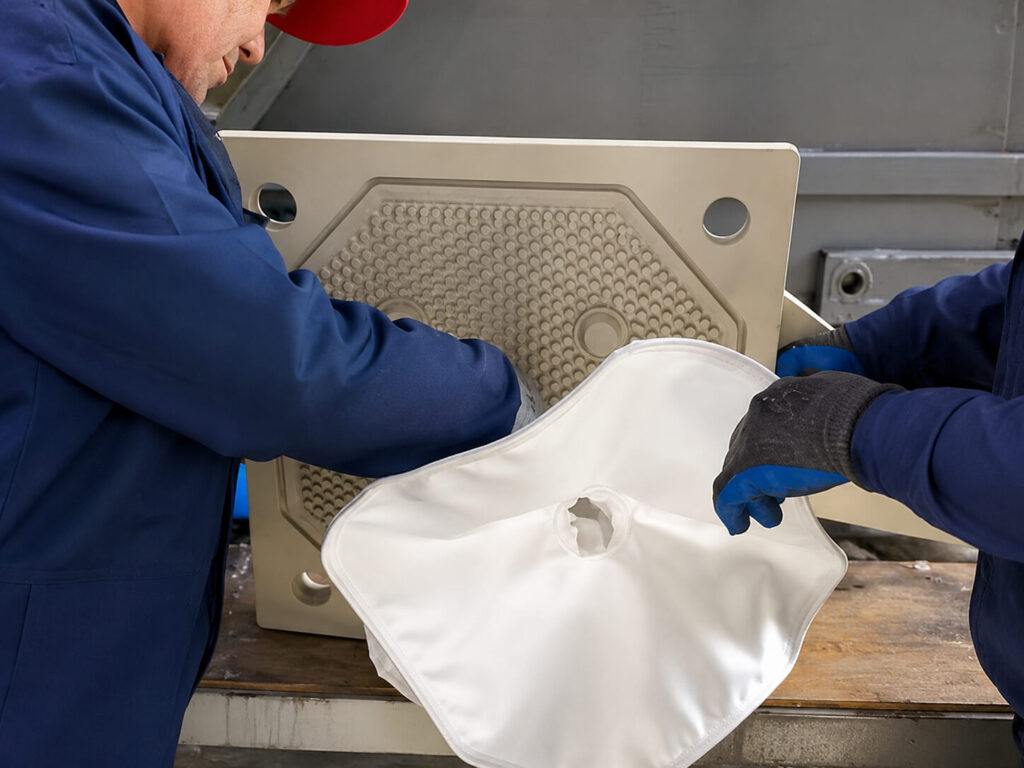
If the Filter Cloth Is Too Loose
Excessively loose cloth can move when the plate pack closes or when slurry first enters the chamber.
Loose fabric may fold over the sealing surface, become trapped between adjacent plates, partially block a filtrate outlet, or create wrinkles inside the chamber.
A cloth caught between the sealing faces prevents the plates from closing correctly and can create slurry leakage.
If the Filter Cloth Is Too Tight
Excessive tension creates a different set of problems.
During filtration, solids accumulate in the chamber and the filter cake gradually develops. The filter cloth must tolerate repeated mechanical stress during filling, pressure filtration, plate opening, cake discharge, washing, and closing.
If the cloth has already been stretched tightly during installation, additional operational stress can concentrate around feed holes, attachment points, stitched areas, and plate edges.
This may contribute to premature tearing or distortion.
If the Filter Cloth Is Wrinkled
Large wrinkles are also unacceptable.
Wrinkles can interfere with plate sealing, create flow channels, prevent uniform cake formation, and cause localized wear.
A properly installed filter cloth should therefore be flat, centered, and secure without being excessively stretched.
This simple principle is one of the most important rules in filter press cloth installation.
How to Inspect and Test the Filter Press After Cloth Installation
Replacing the cloth does not mean the filter press is immediately ready for full-pressure operation.
A controlled inspection and start-up procedure can identify installation problems before they develop into severe leakage or cloth damage.
Close the Plate Pack Without Feeding Slurry
After all filter cloths have been installed, close the filter plates according to the normal machine procedure.
Before introducing slurry, inspect visible plate edges to confirm that no cloth has folded or become trapped between the sealing faces.
If the press does not close normally or plate alignment appears unusual, stop and inspect the cloth position rather than applying additional closing force.
Start With Low Feed Pressure
Do not immediately operate at maximum feed pressure after a complete filter cloth change.
Start the feed pump at a controlled flow rate and relatively low pressure where the filter press and process allow it.
Observe the plate pack carefully during the initial filling stage.
Check for:
- Slurry leakage between plates
- Spraying around the feed opening
- Unexpected movement of the cloth
- Abnormal filtrate flow
- Cloudy filtrate
- Uneven pressure behavior
Check Filtrate Clarity
Some temporary turbidity can occur with certain new filter cloths until a preliminary solids layer develops on the cloth surface. However, persistent cloudy filtrate should be investigated.
Possible causes include incorrect cloth specification, damaged fabric, improper alignment, an open seam, installation damage, or a cloth permeability that is unsuitable for the slurry.
Once the filtration system is stable, the cloth remains correctly positioned, and no abnormal leakage is observed, feed pressure can be gradually increased toward the normal operating range specified for the equipment and process.
Common Filter Press Cloth Installation Problems and How to Fix Them
Many filter press problems that appear immediately after a cloth change can be traced back to installation rather than to the filter press itself.
Slurry Leaks Between Filter Plates
If slurry begins leaking between adjacent plates shortly after the new cloth is installed, stop the feed safely and inspect the affected area.
Common causes include:
- Cloth trapped on the sealing surface
- Wrinkled filter cloth
- Dirty sealing edges
- Incorrect cloth dimensions
- Unevenly seated CGR cloth
- Damaged filter plate sealing surfaces
- Plate misalignment
Do not automatically solve leakage by increasing hydraulic closing pressure. The original cause should first be identified.
Filtrate Remains Cloudy
Cloudy filtrate can indicate that solids are passing through the filtration media.
Check whether the cloth is torn, whether the feed opening has damaged reinforcement, and whether the correct cloth permeability was selected.
Also inspect seams and attachment areas. A small installation-related tear can allow solids to bypass an otherwise correctly selected filter cloth.
The Filter Cloth Tears Near the Feed Hole
The center feed area experiences repeated mechanical and hydraulic loading.
Tearing around this area may result from excessive cloth tension, incorrect feed-hole alignment, damaged reinforcement, sharp plate edges, or improper cloth dimensions.
The feed opening should line up naturally with the filter plate rather than being pulled into position.
Filter Cake Thickness Is Uneven
Uneven cake formation can have several process-related causes, but a newly installed cloth should also be inspected.
A folded cloth, blocked drainage area, partially obstructed feed port, or twisted feed neck can affect slurry distribution inside the chamber.
Inspect the affected filter press plates and compare them with neighboring chambers.
The Cloth Moves During Cake Discharge
If a non-gasketed cloth repeatedly shifts when the plates are opened or cakes are discharged, inspect the upper and side attachment points.
Loose or damaged fasteners should be replaced. However, avoid solving the problem simply by over-tightening the cloth.
The attachment system should control cloth position while still allowing the material to lie naturally against the plate.
A CGR Cloth Keeps Coming Out of the Groove
A CGR cloth that repeatedly lifts from the perimeter groove may indicate an incorrect cloth size, damaged caulking edge, contaminated groove, uneven installation, or incompatibility between the cloth and filter plate.
Remove and inspect the affected section rather than repeatedly hammering it deeper into the plate.
If replacement filter cloth is being ordered for an existing CGR press, supplying the filter press manufacturer with the plate size, plate model, feed configuration, photographs, and old cloth dimensions can reduce the risk of receiving an incompatible replacement.
Conclusion
Correct filter press cloth installation is essential for reliable solid-liquid separation. The objective is not simply to attach a new piece of filter media to the plate. The cloth must be correctly aligned with the feed and filtrate passages, securely positioned, evenly supported, and kept away from the plate sealing surfaces.
For non-gasketed filter press cloth, installation is generally faster because the fabric is draped over the filter plate and secured using the applicable attachment system. The main priorities are correct alignment, flat positioning, and avoiding excessive tension.
For CGR or gasketed filter cloth, greater attention must be given to the perimeter groove. The cloth edge needs to be seated evenly around the plate so that the sealing system can perform correctly. Uneven caulking, wrinkles, accumulated fabric, or contaminated grooves can lead to leakage and premature cloth failure.
Regardless of the design, always inspect and clean the filter plate before installation, check the replacement cloth specification, close the plate pack carefully, and carry out the first filtration cycle at controlled feed conditions. Increasing pressure gradually gives operators an opportunity to detect leaks, cloudy filtrate, misalignment, or other installation problems before they become more serious.
If you are replacing filter cloth on an existing press and are unsure about cloth size, feed-hole configuration, CGR versus non-gasketed construction, or plate compatibility, LONGONE can help match the filter media and replacement filter plates to your equipment. Providing your filter press model, filter plate dimensions, operating pressure, slurry characteristics, and photographs of the existing plate can make replacement selection faster and more accurate.